Today, we’re embarking on a deep dive into Seagate’s FireCuda PCIe Gen4 NVMe SSD — more specifically, the Lightsaber Collection Special Edition available in both 1TB and 2TB capacities. In this review, we’ll explore every angle of the drive, from its aesthetics and performance to its compatibility and overall value. Let’s see whether this SSD has the power to ignite your computing experience!
Design and Compatibility
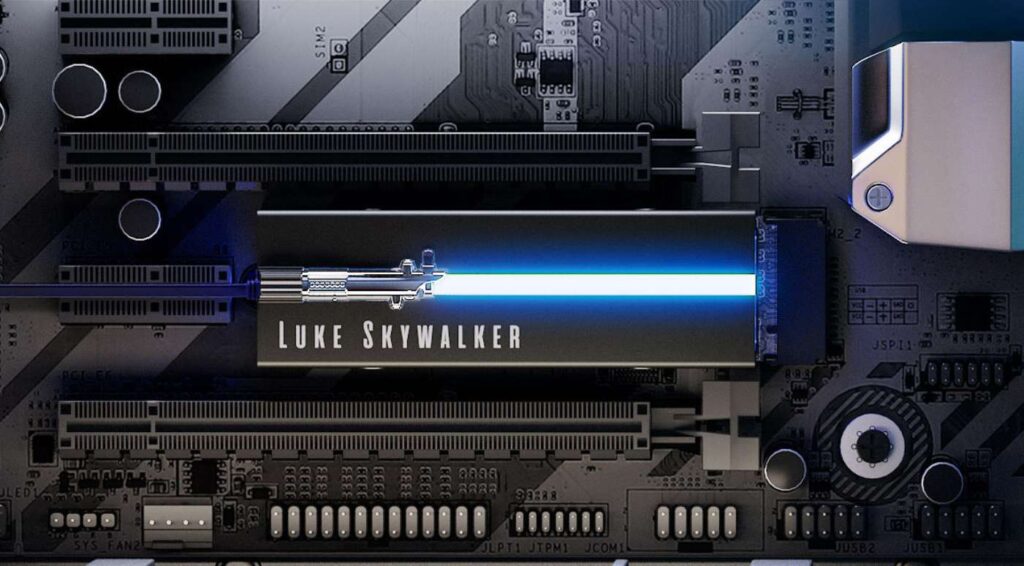
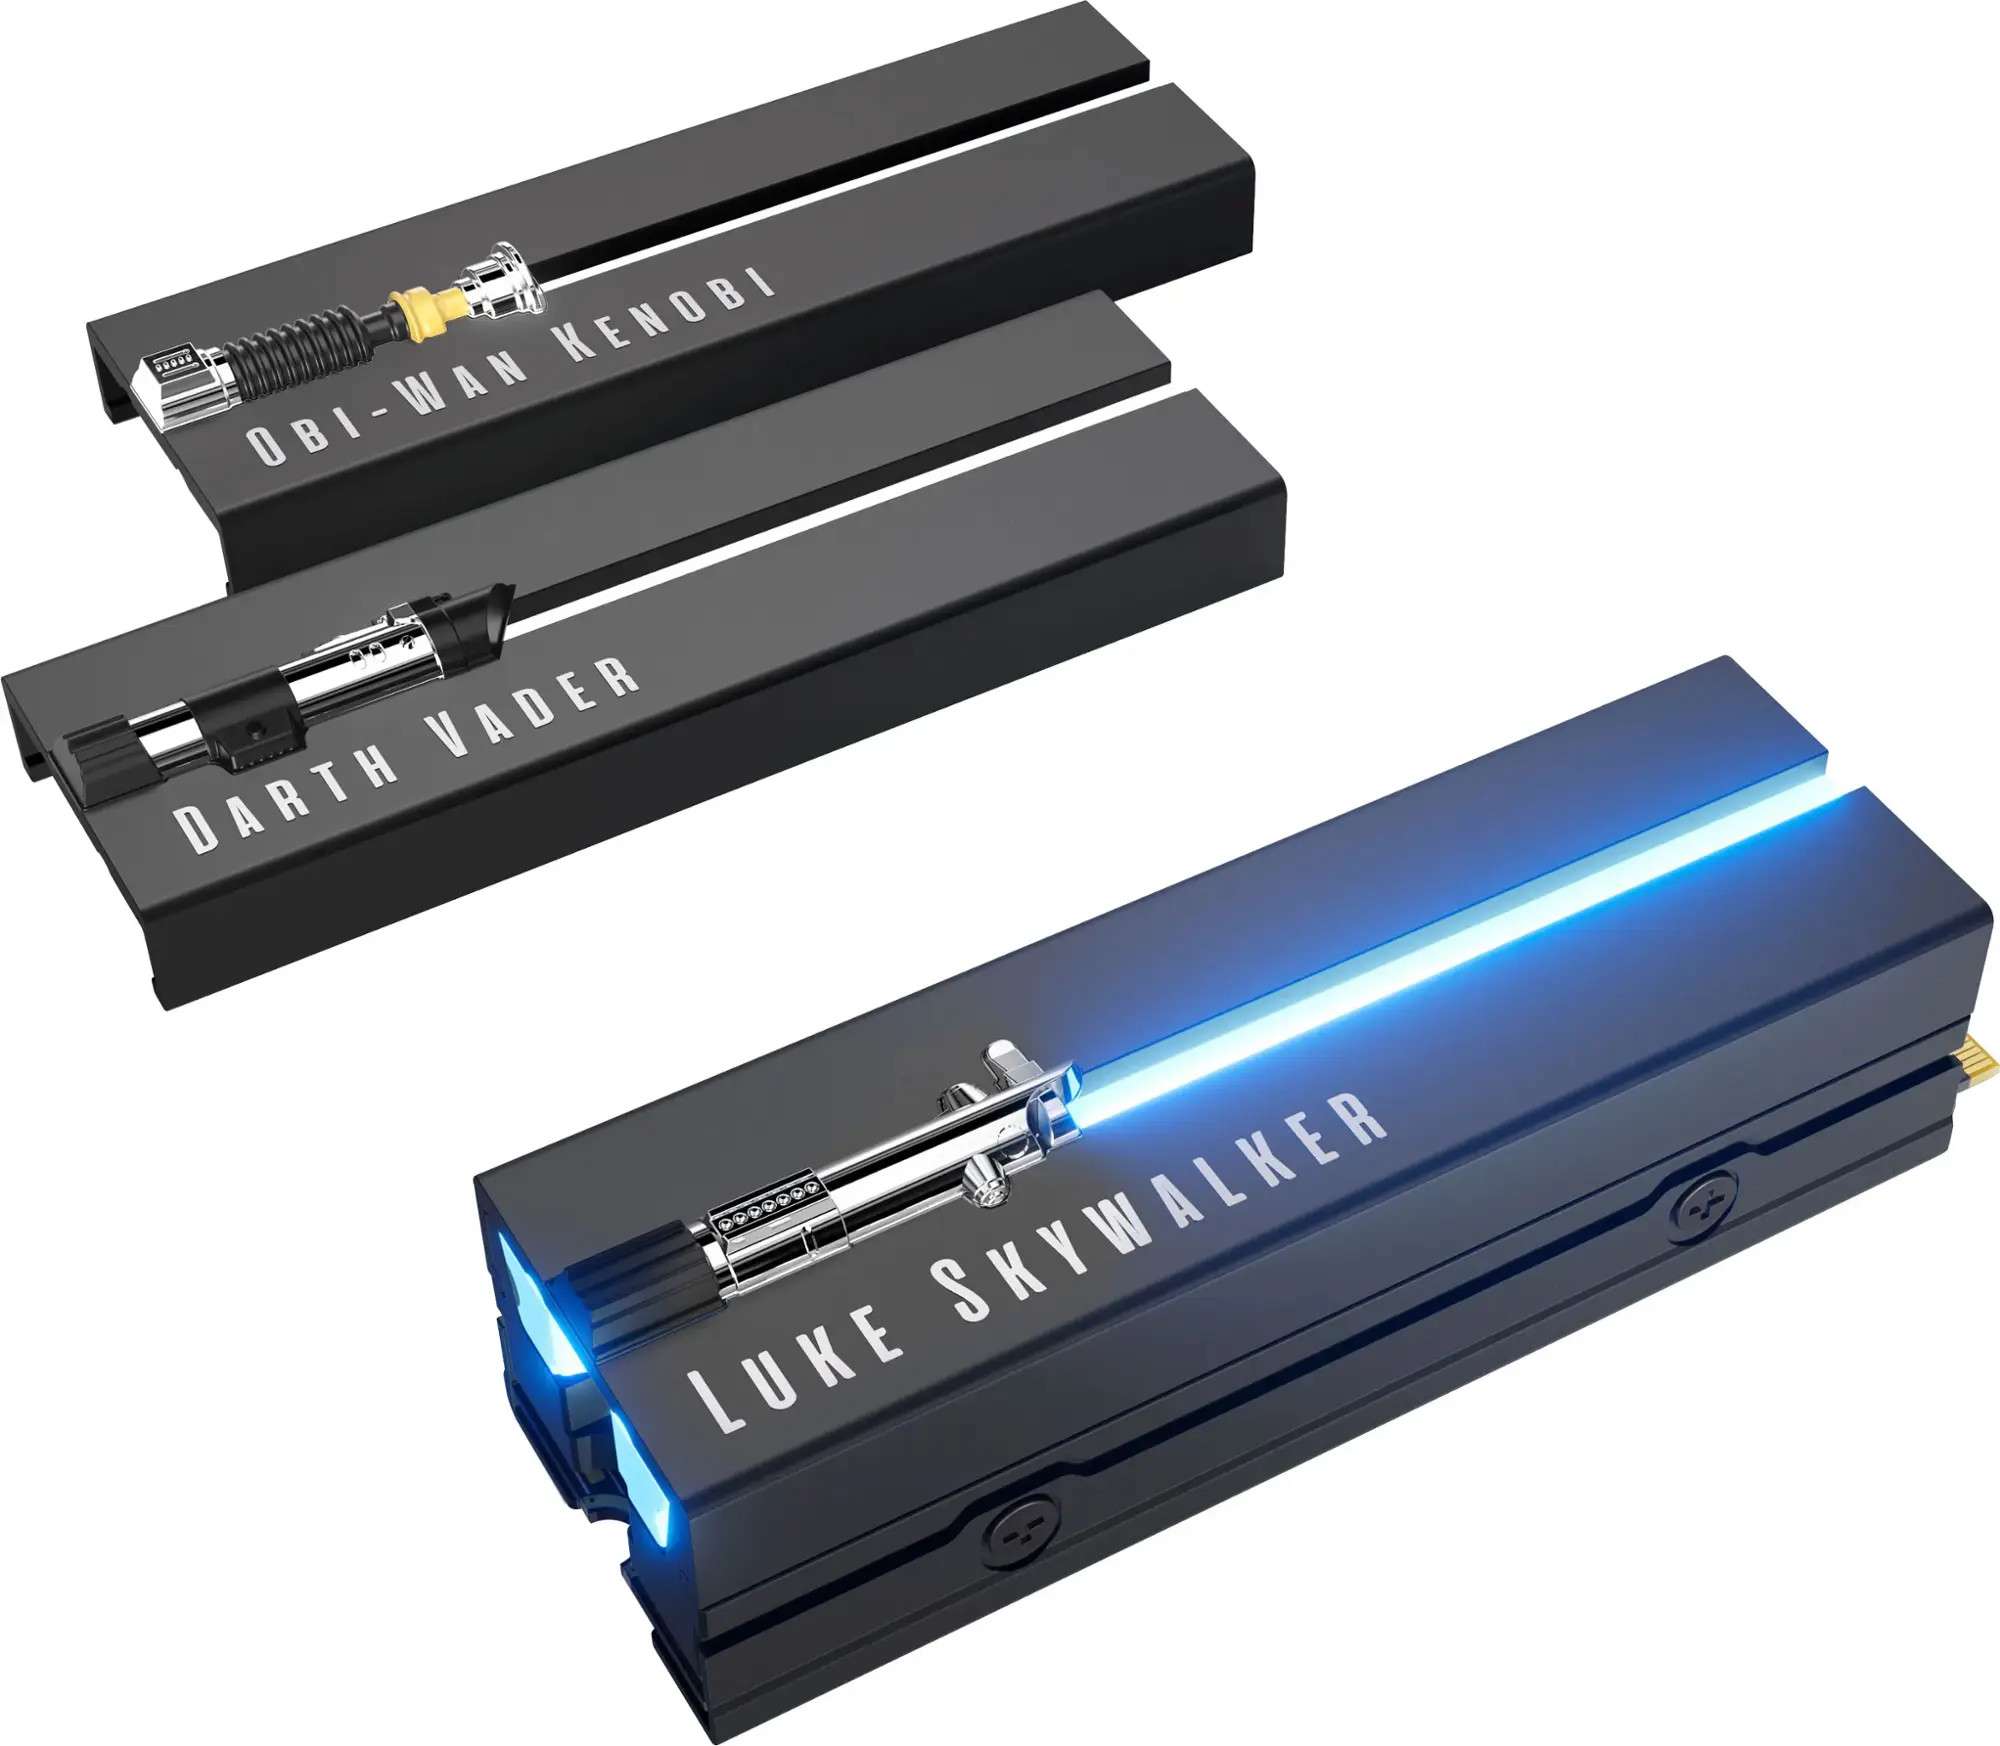
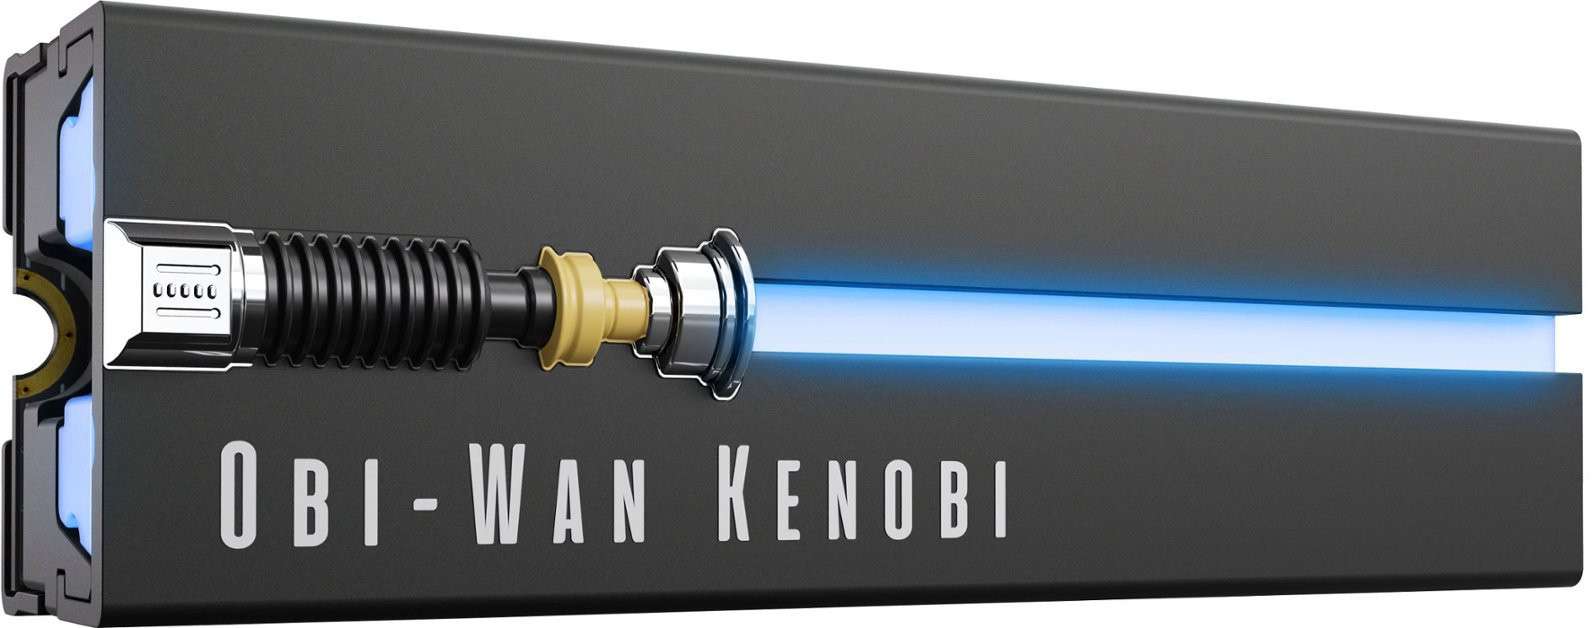
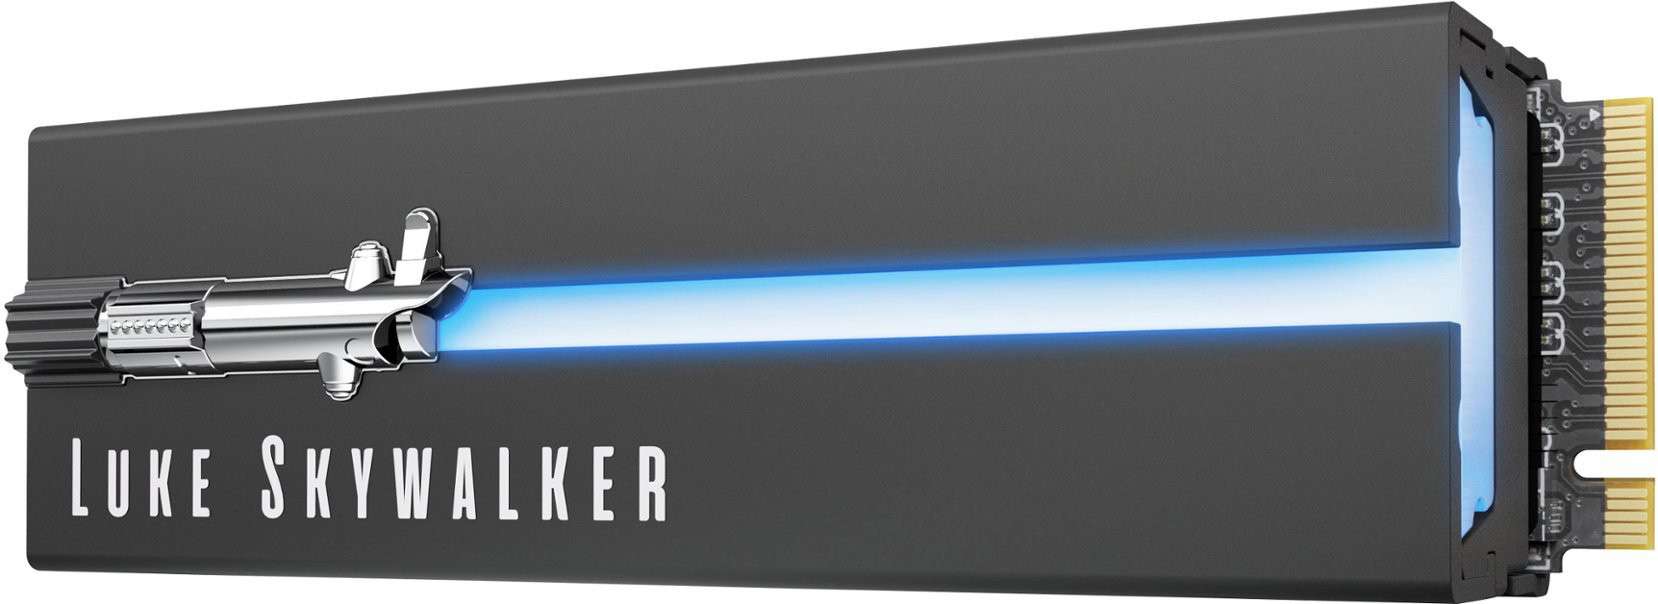
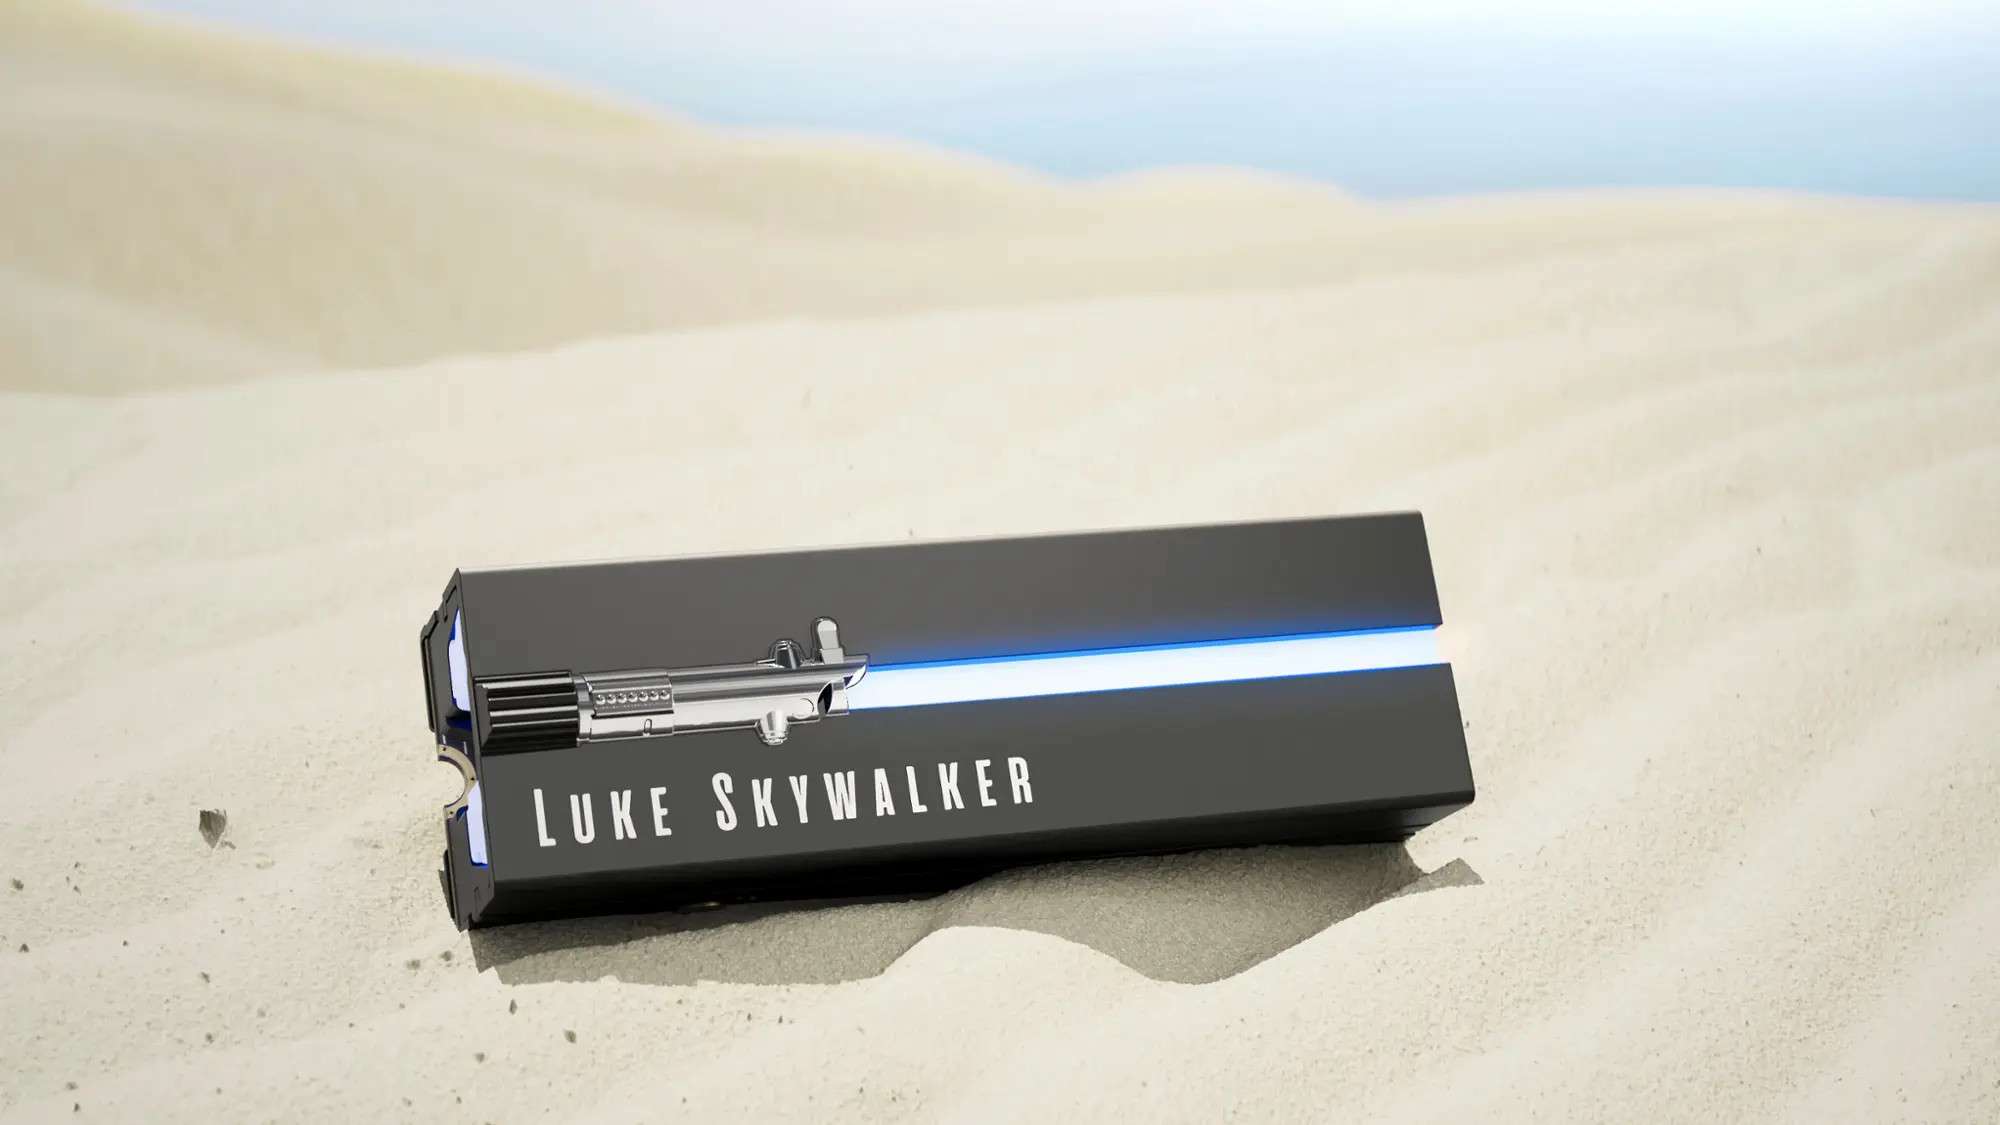
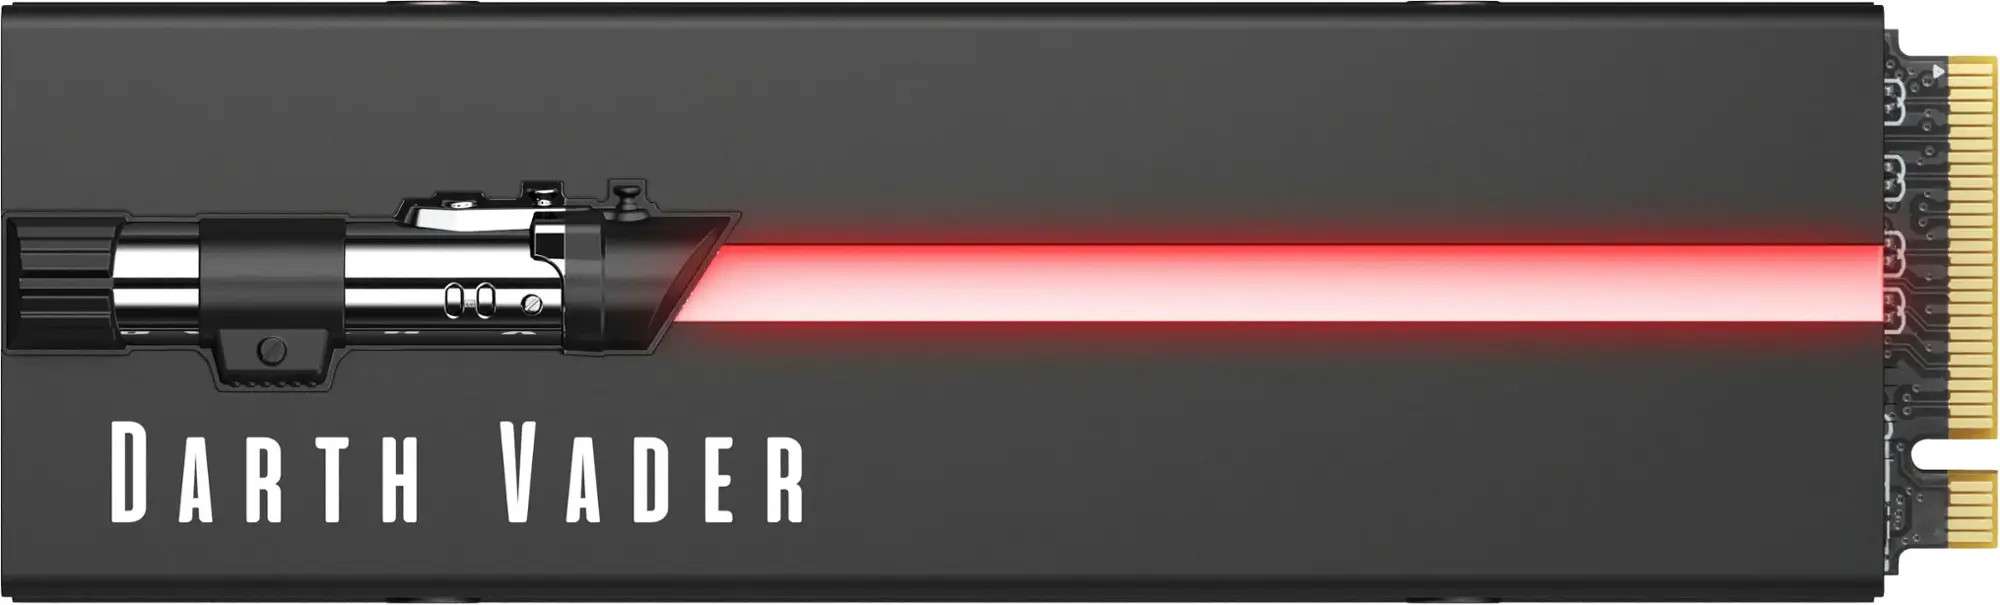
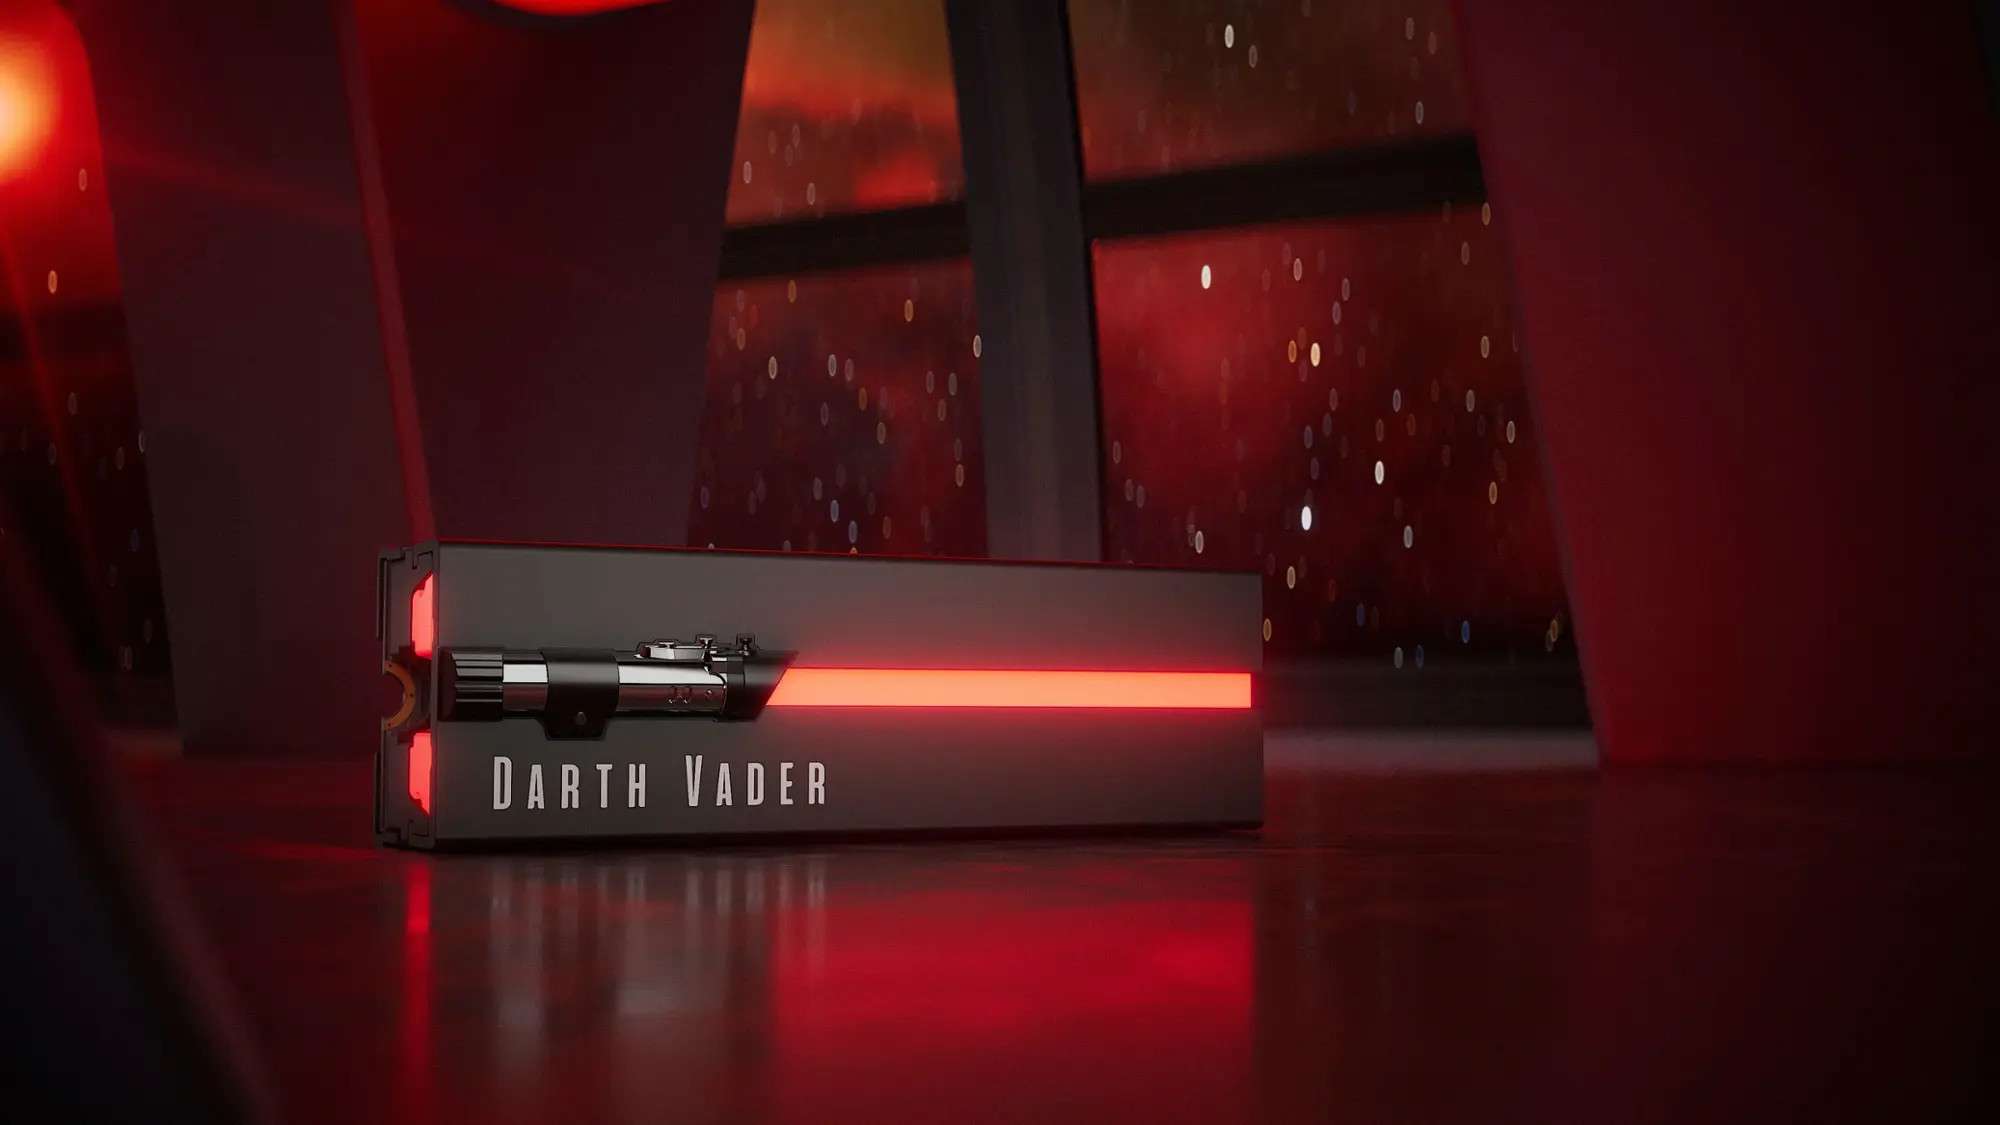
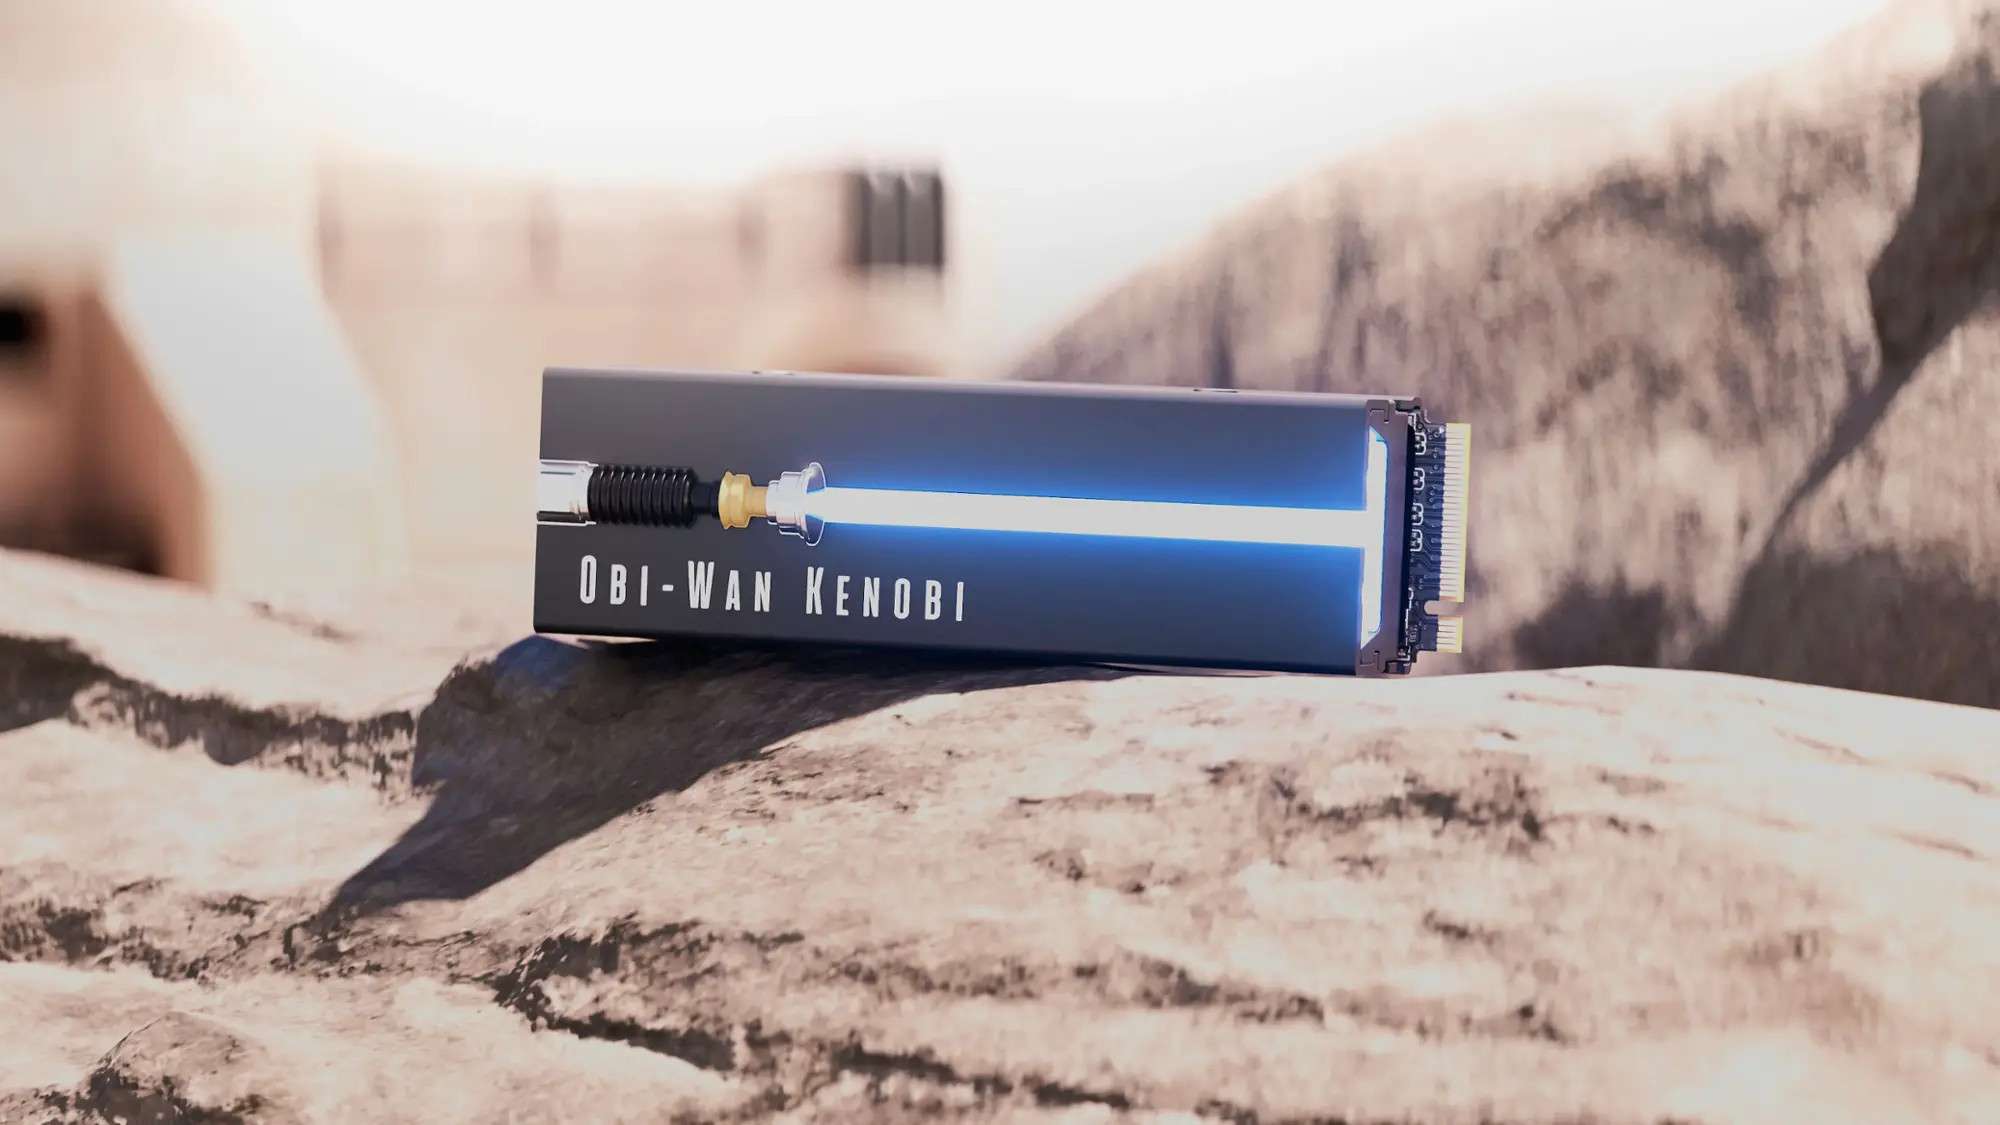
The officially licensed Seagate FireCuda PCI-Express Gen4 NVMe SSD combines cutting-edge performance with a sharp, modern look that’s bound to impress any tech aficionado. Its sleek black aluminum heatsink not only delivers a bold, eye-catching appearance but also helps keep temperatures in check for peak efficiency. A true highlight is the lightsaber-inspired RGB lighting, giving it a distinctive and customizable glow. Interchangeable faceplates let users showcase their favorite lightsaber color—whether it’s Luke Skywalker’s legendary blue, Obi-Wan Kenobi’s classic green, Darth Vader’s fierce red, or a personalized hue. Note: RGB lighting requires a motherboard equipped with a 5V addressable header. This level of customization gives the FireCuda a futuristic, dynamic character that sets it apart from the rest.
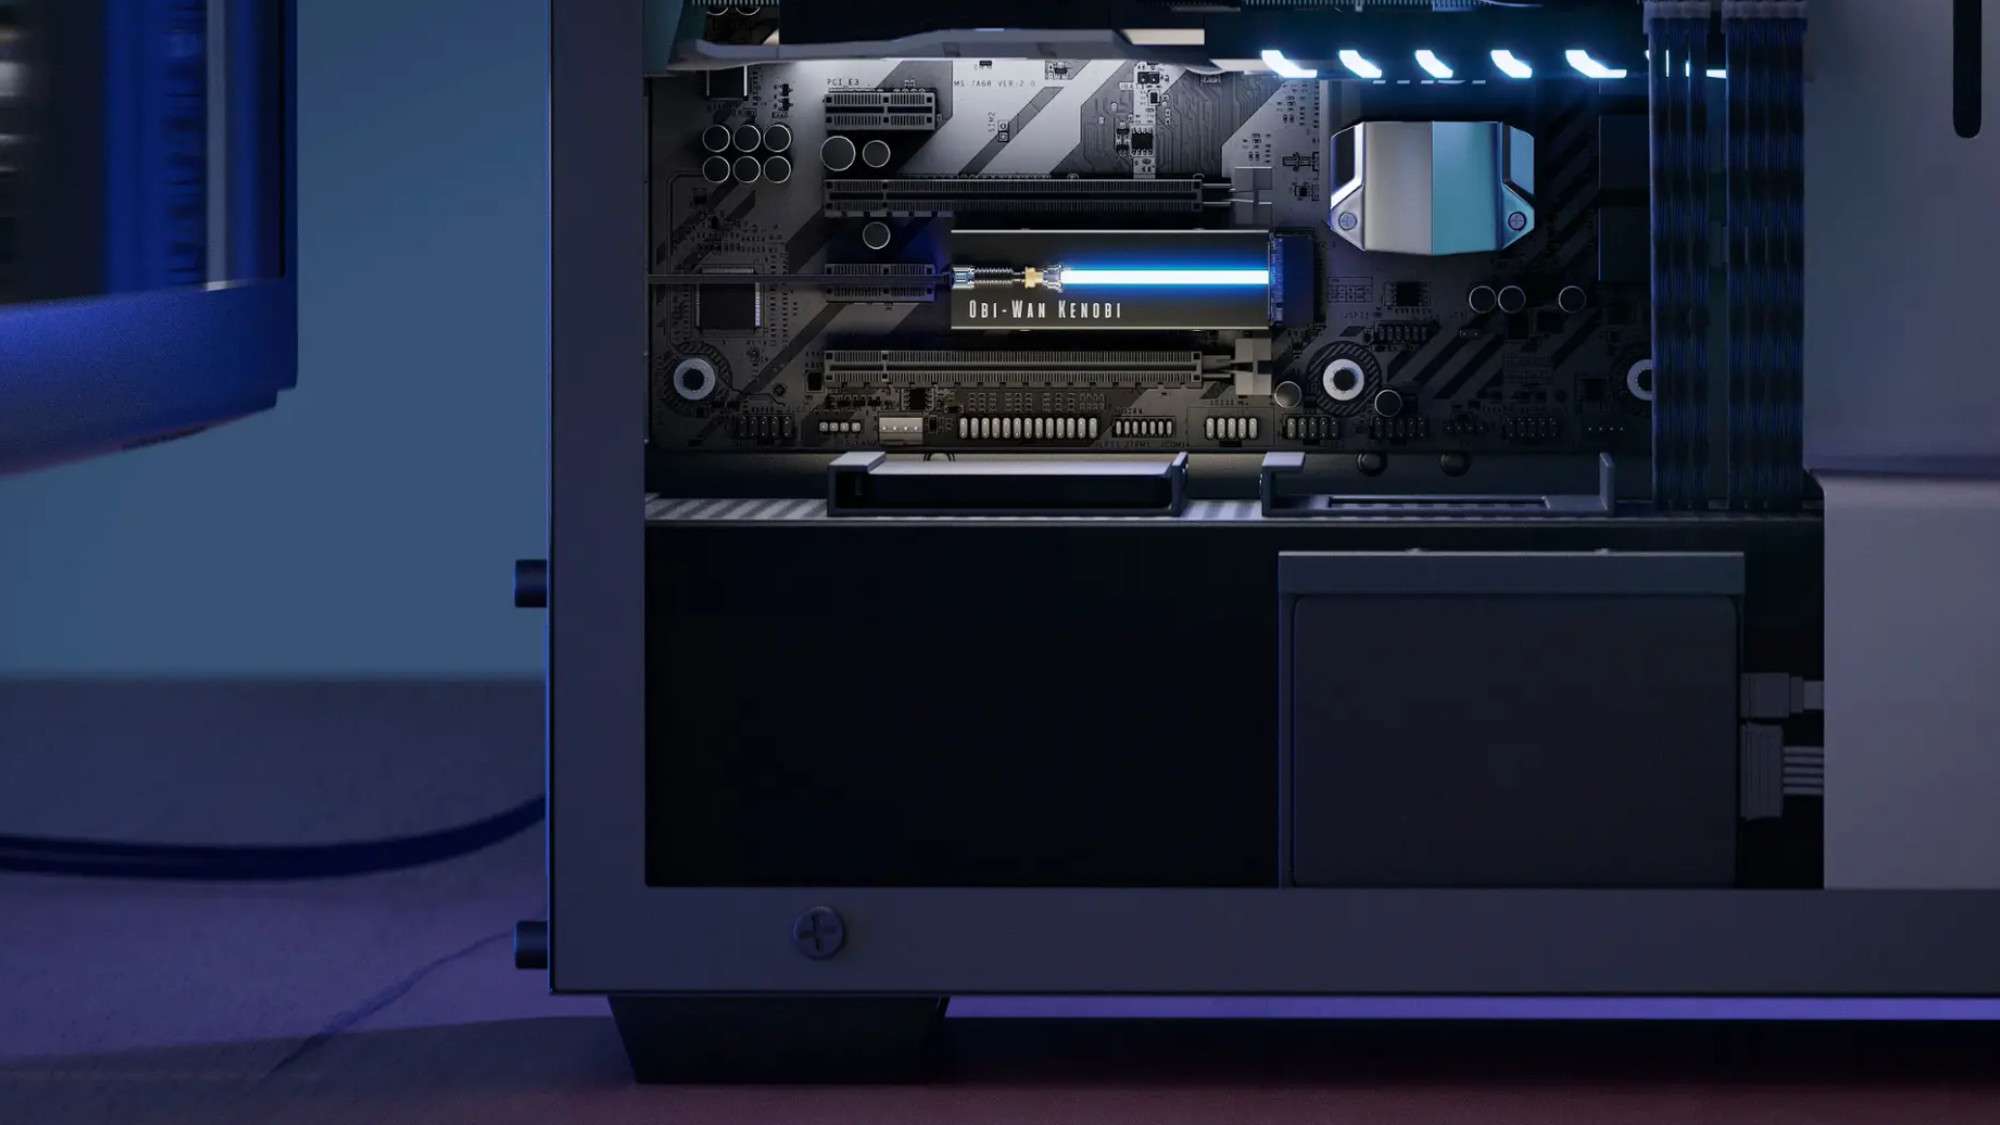
Available in 1TB and 2TB capacities, the Lightsaber Special Edition has a design that fits seamlessly into most modern PC builds and cases. Built for PCI-Express 4.0 Gen4x4 performance, it works flawlessly with both older PCIe Gen3 systems and next-generation PCIe Gen5 setups, giving it outstanding adaptability for today’s and tomorrow’s hardware. A screw-down bracket is included, making installation quick, secure, and hassle-free.
Installation & Configuration
Want to give your Lightsaber Collection Gen4 PCIe NVMe SSD a faceplate that reflects your personal style? You’re in the perfect spot. First, make sure your SSD is installed correctly. If you’re not sure how, check out our in-depth guide, How to Install & Format Your M.2 NVMe SSD, for clear, step-by-step help. Once your installation is complete, use this straightforward three-step process to safely swap out the faceplate.
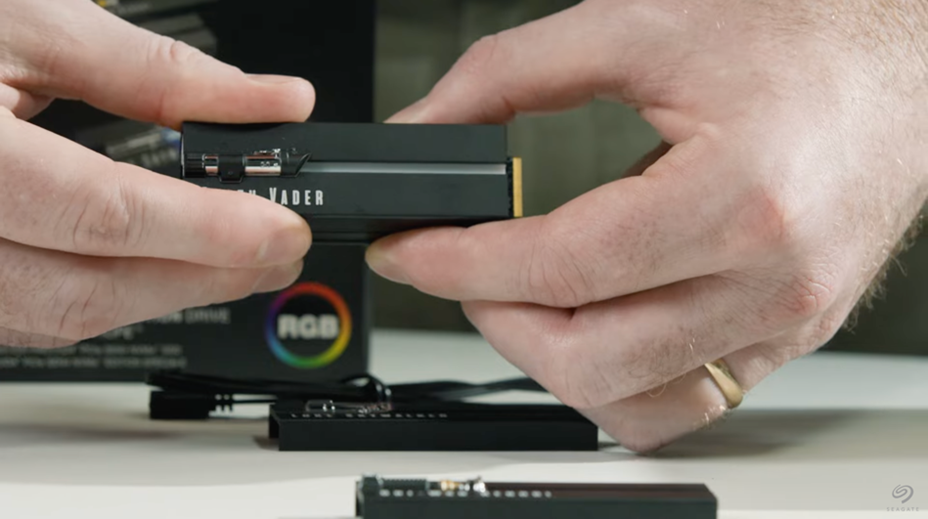
First Step: Remove the Pre-installed Faceplate
- Begin by taking a firm yet gentle hold of the sides of the existing heatsink. Keep your grip steady, making sure not to touch the M.2 connector, as this component is essential for your SSD’s operation. Approach the task with accuracy and care to protect the connector.
- With your fingers securely placed, carefully slide the faceplate to the left or right. As you move it, you’ll feel it start to loosen. Maintain light, even pressure until the faceplate comes completely free from the heatsink. Avoid using excessive force, as this could harm the alignment tracks or the small retention ball bearing that keeps the faceplate in position.
Second Step: Getting the New Faceplate Ready for Installation
Before securing the replacement faceplate, carefully inspect both the SSD and the new faceplate.
- On the SSD, identify the two alignment rails running parallel along each side of the drive. These rails serve as guides, helping the faceplate align correctly and stay firmly in place. You should also locate the small retention ball bearing near the top of the heatsink—this tiny but important feature ensures the faceplate locks securely once fitted.
- Now turn your attention to the underside of the new faceplate. You’ll find matching channels that correspond to the SSD’s alignment rails. These channels are essential for a proper fit, allowing the faceplate to slide into place smoothly and lock without resistance.
By familiarizing yourself with these essential elements, you can make sure the replacement process is smooth and safe.
Third Step: Install the New Faceplate
- To attach the new faceplate, line up the grooved rails on its underside with the corresponding alignment channels on the SSD. Make sure the grooves and channels match exactly—any misalignment could result in a loose or wobbly fit.
- Once positioned correctly, press down gently and evenly while sliding the faceplate into place. You can slide it from either the left or right side, whichever feels more comfortable. As you move it, pay attention for a faint “click,” which signals that the retention ball bearing has engaged and the faceplate is locked.
- After installation, confirm that the faceplate sits evenly against the heatsink, with no visible gaps or uneven edges. This not only ensures proper heat dissipation but also gives the assembly a clean, professional look.
RGB Lighting Customization
With the faceplate in place, you can now adjust the RGB lighting to match your personal style. Open your motherboard manufacturer’s lighting control software—each brand offers its own interface for tweaking colors, effects, and patterns. Refer to their manuals or online support for step-by-step instructions.
By following these steps, you’ve completed the faceplate swap on your Lightsaber Collection Gen4 PCIe NVMe SSD, giving it both a personal touch and optimal functionality.
Performance
After covering the design and compatibility aspects of this standout SSD, it’s time to dive into the feature that truly defines it—its speed and efficiency. The Seagate FireCuda Lightsaber Special Edition NVMe SSD isn’t just about bold aesthetics; it delivers exceptional, dependable performance that keeps your system running at peak smoothness, regardless of the workload.
Built on the PCI-Express Gen4 NVMe interface, it taps into the fastest storage connection available, pushing speeds up to an impressive 7300MB/s. Both the 1TB and 2TB FireCuda models rank among the swiftest NVMe SSDs currently offered, enabling noticeably shorter game load times, rapid-fire application launches, and effortless management of demanding, high-resolution media.
Once your faceplate is in place, you can complete the customization by tailoring the RGB lighting to your taste. This is done through your motherboard’s RGB control software, which varies by brand. Check the manufacturer’s support materials for detailed instructions on adjusting colors, effects, and lighting patterns.
By following these three main steps, you’ve not only replaced the faceplate of your Lightsaber Collection Gen4 PCIe NVMe SSD but also transformed it into a uniquely personalized component.
While the large sequential speed stats might grab attention, the FireCuda’s real strength lies in its stellar random read and write capabilities. This means it tackles complex, detail-heavy workloads—like video editing, graphic design, or juggling multiple demanding applications—without hesitation. Whether you’re a creative pro or a power user, this SSD handles the toughest tasks effortlessly, earning its reputation as a reliable, high-performance choice.
Value for the Money
While the Seagate FireCuda M.2 PCI-Express Gen4 NVMe SSD. sits firmly in the high-end segment, its pricing remains competitive with other premium NVMe options. The 1TB model retails for about $139.99, and the 2TB version is around $299.99-figures that align well with similar top-tier drives currently on the market.
From a cost-per-gigabyte perspective, the FireCuda offers a compelling balance, often beating many rivals in the same performance class. This makes it particularly appealing for those seeking a combination of cutting-edge speed and strong overall value. However, as a special edition, stock could be scarce, so securing one sooner rather than later may be wise if you don’t want to miss out on this impressive storage upgrade.
Conclusion
The Seagate Lightsaber Collection Special Edition FireCuda M.2 PCI-Express Gen4 NVMe SSD is more than just storage – it’s a fusion of speed, style, and versatility. Offered in both 1TB and 2TB capacities, it delivers rapid data access for games, applications, and essential files, all while maintaining exceptional efficiency.
From its distinctive Star Wars–themed design to its seamless integration with today’s high-performance systems, this SSD stands out as both a collector’s piece and a powerhouse performer. Whether you’re chasing elite gaming performance or simply want a dependable, ultra-fast drive, the FireCuda rises to the occasion. Its unique aesthetics and outstanding capabilities promise to enhance your setup and leave a lasting impression. To explore the Seagate FireCuda PCI-Express Gen4 NVMe SSD in detail, visit Seagate’s official site or browse hands-on reviews from trusted tech sources. Here’s to faster load times and a system you’ll love powering up!